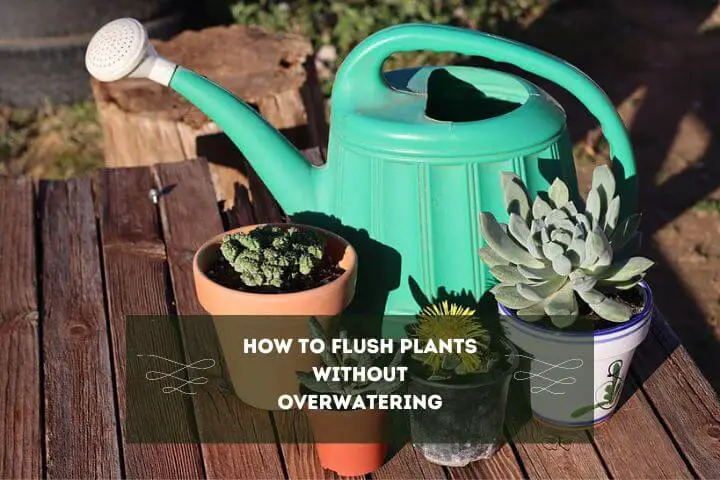
If you want to flush your plant without hampering its root, you are in the right place. In this article, I will share five steps on “How To Flush Plants Without Overwatering”.
Later, I will answer some of the most frequently asked questions on flushing plants without over-watering. But before I tell you how to wash plants without overwatering, let’s take a quick look at why to wash plants even.
Why Flush Plants?
It’s essential to flush your plants because salts & other nutrients can build up in the soil over time. And this can be harmful to your plant’s roots. You’ll need to saturate the soil with Water to wash out these excess nutrients, helping your plant absorb the right amount of nutrients and prevent nutrient burn.
The key is to be gentle and patient. One of the most common mistakes people often make during flushing is using too much Water, which can lead to waterlogged soil and root rot.
As per the general rule of thumb, you should use about four times as much water as the pot would hold. Another common mistake you’re likely to make is flushing too frequently, leading to nutrient deficiencies and stunting plant growth. To avoid this mistake, here is how to wash plants without overwatering.
How To Flush Plants Without Overwatering
As an avid gardener, I also understand that flushing your plants is essential to keeping them healthy, but it’s necessary to do it correctly to avoid overwatering. Below I am mentioning a few steps and techniques so that you can flush your plants without causing damage to their roots.
Step 1: Prepare the materials needed for flushing plants.
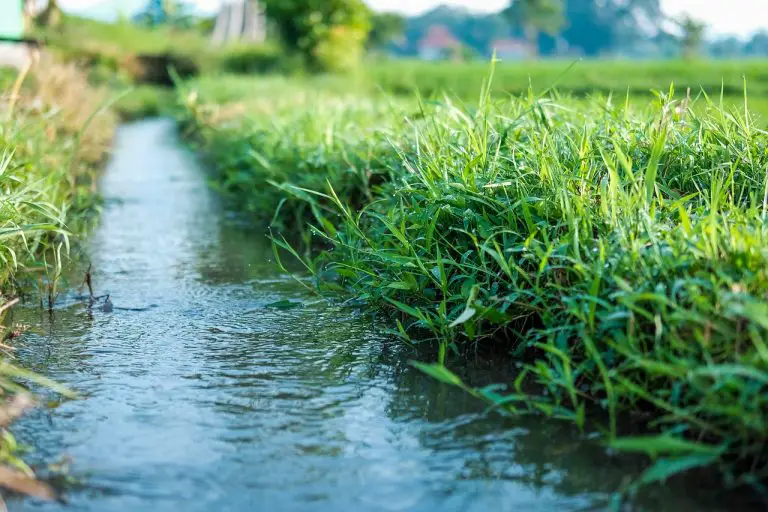
Firstly, you will need a container holding a water can or bucket. Also, you need to ensure you are using only spring water. According to the IHG, spring water is best for flushing because it contains fewer minerals and chemicals that can contribute to salt buildup in the soil.
Step 2: Now, Water your plant, moisten the soil, and prepare it for flushing.
You must prepare this soil and your plant by watering it thoroughly with spring water until you see Water flowing out of the drainage holes in the bottom of the pot. This will help you moisten your soil and prepare it for flushing.
Step 3: Now, wait for the container water to come to room temperature
You should slowly pour the spring water into your container and wait for it to come to room temperature. As Per eHow, you must use water at room temperature because cold Water can shock your plant’s roots, and hot Water can damage them. Hence, you should use water between 60 degrees to 70 degrees Fahrenheit.
Step 4: Use A Tray Or Saucer To Catch Any Excess Water That Drains Out Of The Bottom Of The Pot And Dispose Of It.
Now, you need to place the container under the plant and slowly pour the Water over the soil until it drains out of the pot’s bottom. Additionally, you can use a tray or saucer to catch any excess water that drains out of the bottom of the pool and dispose of it.
Always Be patient and take your time to ensure that the soil is thoroughly saturated with Water. Depending on the size of your plant and the buildup in the ground, you will have to repeat this process several times until the desired result comes in.
Step 5: After Flushing Your Plant, Let The Soil Dry and Test Its Moisture Level
After successfully flushing your plant, let the soil dry out before watering again. You must test the soil’s moisture level by sticking your finger about an inch deep into the ground. If it feels dry, it’s time to water your plant again. Also, you can use a moisture meter to determine the soil’s moisture level and avoid overwatering.
Also Check: Honey vs molasses: which one is better for plants?
When To Avoid Flushing Plants?
According to Wikileaf, you should never flush plants suffering from nutrient deficiency issues three weeks before harvest. Also, you should avoid not flushing at all If you use organic soil with natural fertilizers because soil microbes will alone break down any excess nutrients and improve the flavor & aroma of your bud.
How To Monitor Plants During Flushing?
During the flushing process, you must monitor your plants closely to ensure they are not getting too much or too little Water. You should know that Overwatering can lead to root rot, while underwatering can cause wilting and damage. I’ll highly recommend you monitor the soil moisture levels and the weight of the plant pot to determine if your plants need Water.
Tips for Ensuring Successful Flushing
To ensure you make successful flushing, here are some tips to follow:
- You must use clean, pH-balanced Water. It is better to use water with a pH level of 6.0-7.0 to help prevent nutrient lockout & ensure effective flushing.
- It would be best to continue flushing until runoff to remove all excess nutrients and salt buildup from the soil.
- As mentioned earlier, monitoring your plants closely during flushing is crucial to avoid overwatering or underwatering.
- After flushing, you must adjust your watering schedule to meet your plants’ needs. Experts say you should reduce watering frequency but increase water per water.
Also Read: Why & what plant has only three leaves
FAQ
What Is Nutrient Lockout & How Is It Related to Plant Flushing?
Nutrient lockout occurs when the buildup of excess nutrients in the soil prevents your plants from absorbing the proper amount of nutrients. Hence, Flush your plants helps to remove the buildup of extra nutrients and to avoid a nutrient lockout. It’ll help you ensure your plants can absorb the right amount of nutrients.
Can I Use Tap Water For Flushing My Plants?
No, you should never use tap water for flushing plants. Even though tap water can be used for flushing your plants, it may contain minerals and chemicals that can contribute to salt buildup in the soil. InI believe rainwater or springwater works best for flushing because it usually has fewer minerals and chemicals.
How Long Does It Take To Flush Plants?
The actual time it takes to flush plants can vary depending on the size of your plant and the amount of buildup in the soil. Therefore I recommend you take your time and ensure that the earth is thoroughly saturated with water to flush out any excess nutrients effectively.
How Can I Tell If I’ve Successfully Flushed My Plants?
The best way you can tell if you have successfully flushed your plant is by testing the soil’s pH and electrical conductivity levels before and after washing it. If the levels have decreased after flushing, it’s a good indication. Additionally, you should monitor the health & growth of your plants to see if they are responding well to the flushing process.
Can I Reuse The Water Used For Flushing?
No, you should never reuse the Water you used for flushing generally. It’s not recommended because it may contain excess nutrients you’re trying to remove from the soil. You should dispose of the Water properly and use fresh Water for future flushes.
Conclusion
Since flushing the plant soil is essential to remove salt and other nutrient buildup, you should always use spring water. Make sure to saturate the soil with Water to wash out all the excess nutrients so your plant can absorb the right amount of nutrients it needs to thrive and prevent nutrient burn.
As I told you earlier, you should never use the same Water to flush your plant. In addition, it is essential to check your plant’s state when you are considering washing it because it might have a negative impact.
You don’t want to make mistakes leading to stunted plant growth or flushing too frequently. This is why I tried to give you all the information you needed to wash plants without over-watering them.
If you like this article, then consider sharing it. Your share will help many people learn how to flush plants’ soil and why it’s important. You should also take a quick look at our other related plant care and management articles. See you in the next post, till then, take care and goodbye.
![How to Fix Waterlogged Potted Plants? [Need to Complete 5 Steps]](https://gardenthrone.com/wp-content/uploads/2022/10/how-to-fix-waterlogged-potted-plants-768x434.jpg)

![What to Do with Potted Plants When It Rains? [A Practical Answer]](https://gardenthrone.com/wp-content/uploads/2022/10/what-to-do-with-potted-plants-when-it-rains-768x412.jpg)
![What Does Lavender Look Like When It Sprouts? [A Practical Answer]](https://gardenthrone.com/wp-content/uploads/2023/01/What-does-lavender-look-like-when-it-sprouts-768x512.jpg)
